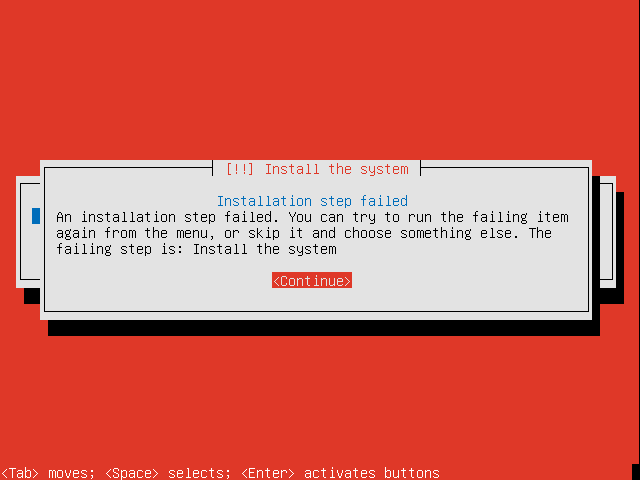
This is just a short post about an annoying issue I encountered today while updating my automated Ubuntu installer with Ubuntu 14.04 (Trusty Tahr). I have a PXE based network boot process to automatically install and configure Ubuntu server instances. The server to be installed will PXE boot and then get the installation files and preseed configuration file via HTTP. This worked well for prior LTS releases. I don’t bother with automating non-LTS releases as their lifespan is far too short for “production” use.
I updated the install server with the new 14.04 server images (AMD64 and i386). I then updated my standard preseed configuration file with the new paths to 14.04 and set off a server installation. Unfortunately, not long into the installation process an error message was displayed. “Install the system” was the title of message and the error was “Installation step failed” “An installation step failed. You can try to run the failing item again from the menu, or skip it and choose something else. The failing step is: Install the system”.

Not terribly useful, if I say so myself. Looking at the installation log on VTY-4 (accessed via ALT-F4 on the console), I saw messages about “main menu: INFO: Menu item ‘live-installer’ selected’” followed by “base-installer: error: Could not find any live images”. Again, not very useful.
To cut a long story short, after much time using Google, I found the solution. The way base Ubuntu is installed seems to have changed with Ubuntu 12.10 (Quantal Quetzal). It seems that rather than installing individual packages initially, a base preconfigured file-system is deployed. This is now contained in a file called “filesystem.squashfs” which is located at “/install/filesystem.squashfs” on the installation media. It seems that when installing via the network (in some situations), you need to configure the preseed file to use this “default” filesystem from the network. This is done in your preseed file by adding the “d-i live-installer/net-image” option, such as in the following line:
d-i live-installer/net-image string http://10.1.1.2/trusty-server-amd64/install/filesystem.squashfs
where 10.1.1.2 is your network installation server and /trusty-server-amd64 is the location of the installation media on the network installation webserver.
Once that is in place, you’re good to go! As I said before, this is only necessary since Ubuntu 12.10. As a result, all of those upgrading our installations from 12.04 LTS to 14.04 LTS may need to be aware of this. There is surprisingly little reference to this on the Internet. Do not many people install over the network in isolated install networks?